
The most annoying kitchen tools to clean

Clean Like You Mean It shows you how to tackle the trickiest spots in your home — whether they’re just plain gross or need some elbow grease. You’ll get the cleaning secrets we’ve learned from grandma, a guide to our handiest tools and helpers, and so much more. Pull on those rubber gloves and queue up the tunes: It’s scour hour!
It’s OK, we’ve all been there. You opt to not use a handy tool in your kitchen for one simple reason: so you don’t have to clean it. Many of these appliances make chopping or shredding or grating a breeze, but along with that comes some very specific cleaning challenges. Sure, the meal turned out great, to rave reviews, but the time spent afterward at the sink sometimes makes you wonder, Was it really worth hauling this thing out? If you’ve spent way too much time scrubbing, destroying sponges, and realizing there are so many other things you’d like to do with your time, here are some foolproof ways to wash some of the most difficult-to-clean tools in your kitchen.
Box grater
You’ve seen the horror before your very eyes — either stuck-on bits that have hardened over time, or a sponge that is shredded and completely unusable after trying to clean your box grater. It’s so convenient for cheese and veggies, but washing it can be a challenge. The best way is to either soak the grater in hot water right after using it, or gently scrub with vinegar to get those loose bits off. Scrubbing in the opposite direction of how you’d grate should help with any tears. If some of those bits are particularly stubborn, especially with foods like hardened cheese, try soaking overnight, then using a bottle brush to scrub the next day.
Food processor
This helpful gadget can become a workhorse in your kitchen, but there are so many damn parts to clean. After taking it apart, focus on the blade first. For extra insurance, you can wear gloves, but since the blade runs the risk of having the most food bits in it, it’s important to wash as soon as you’re done with it. The other parts (besides the base/motor) can soak if you don’t want to clean them right away. Gently wipe the base, and if there are stubborn bits in the crevices, use baking soda or vinegar.
Also, check with your manufacturer to see if the removable parts of your food processor are dishwasher-safe. Most should be good to go as long as you place them on the top shelf of the dishwasher.
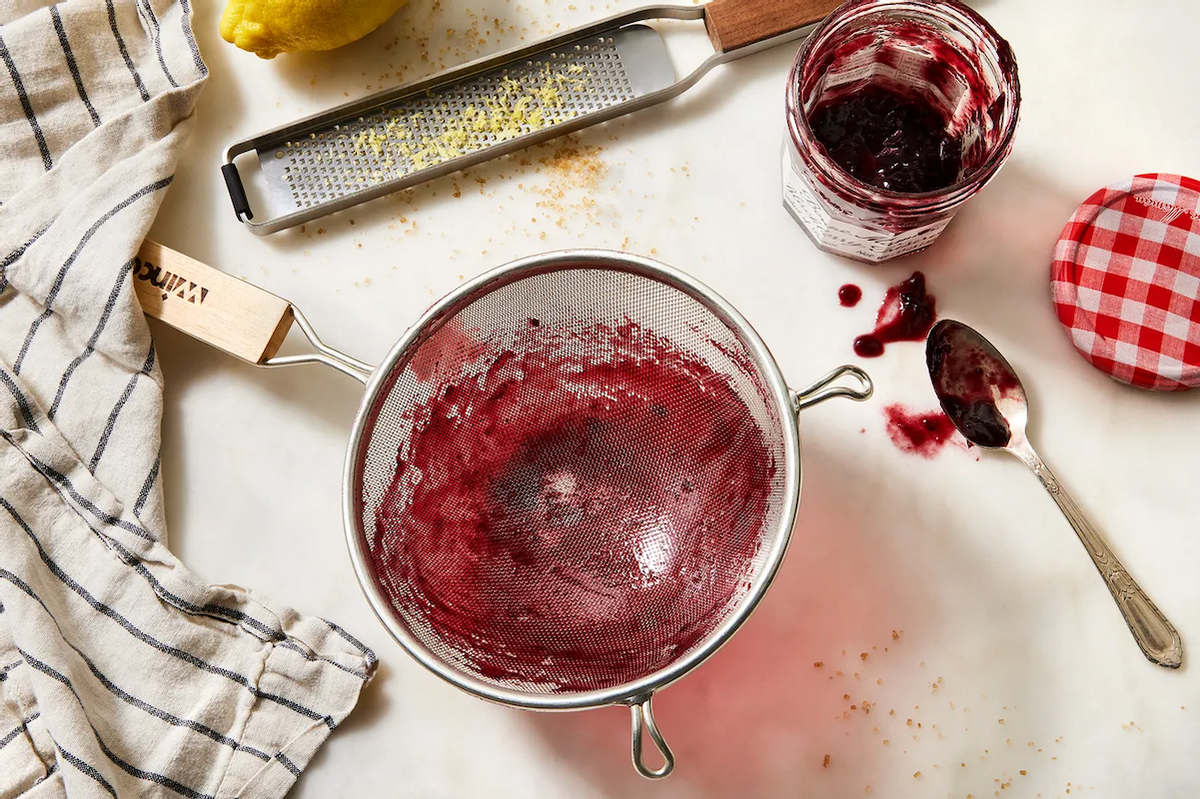
Fine-mesh sieve
Oh, the agony of scrubbing those little holes, only to see food still stuck in them no matter how vigorously you rinse and rub. Just keep in mind that when you’re done straining, bang the sieve against the sink to loosen up the larger pieces, then give it a soak in warm, soapy water (frankly, the key for most of the tools here). Use the rougher side of your sponge and a spray nozzle if your sink has that option after soaking. Let the sieve air-dry on the counter for best results, since a towel probably won’t be able to get to all the water in the small holes of your sieve.
Whisk
Before you gaze longingly at your fork, there’s a super-simple way to clean your whisk: If you whisk hot, soapy water in the bowl you used for said whisk right after you use it, you’ll be all set. If your whisk has been a long-term problem child, let it soak in the bowl overnight before filling again with fresh water and soap and whisking again.
Potato masher
The key here: Wash it immediately with hot water after using it. This is a tool that you shouldn’t wait to clean. If you let it sit, the potato residue gets tough and stuck-on, making cleanup a huge pain. Many are dishwasher-safe, but always check with the manufacturer beforehand. If your masher is made of plastic or stainless steel, you’re most likely stuck with cleaning the masher the old-fashioned way. But as long as you get to it right away, it shouldn’t be a problem.
Garlic press
One could argue that there’s no such thing as too much garlic, which is why owning a garlic press can be a handy tool to have around. But cleaning it? Talk about a tale of woe. Sometimes it’s best to not use it for just one ingredient, right? Wrong! Garlic lovers, unite!
Here’s one of our best tips: Generously spray your garlic press with cooking spray right before using. That way, nothing will get stuck and it can easily be cleaned after use. Again, give it a soak after using and try to clean it with a sturdy sponge before it sits for too long. You could also try to find a garlic press with removable parts, making cleanup that much easier. If all else fails, pour yourself a glass of wine and track down a toothpick. That’s right, you’ll have to use that toothpick to poke through the holes of your press to dislodge the garlic, which is why a little prep work will save you from a lot of hassle.
Microplane
If there’s been one lesson here throughout, it’s this: Don’t leave your tools in the sink dirty, and give them a soak as soon as you’re finished using them. Same goes for your trusty microplane, which can have so much built-up food residue that even a dishwasher won’t be able to get into all those nooks and crannies (plus, it’s not a great option if your microplane is made of stainless steel).
Another pro tip? If you’re tired of scrubbing with a sponge or don’t think your microplane is getting clean enough, try cleaning it with an old toothbrush. The thin bristles get into all the holes and you don’t have to worry about destroying your sponge. The extra soaking time and rinsing right away may be easier said than done, of course, but the minutes and sponges and sanity you’ll save will be well worth it.