
Fresh herbs: How to extend their fleeting shelf life for long-lasting, bright flavor and color

A few years ago, I read Ocean Vuong’s “On Earth We’re Briefly Gorgeous” with a propulsive vigor. Oddly, the title of that book is also how I feel about fresh herbs, in all of their ephemeral glory.
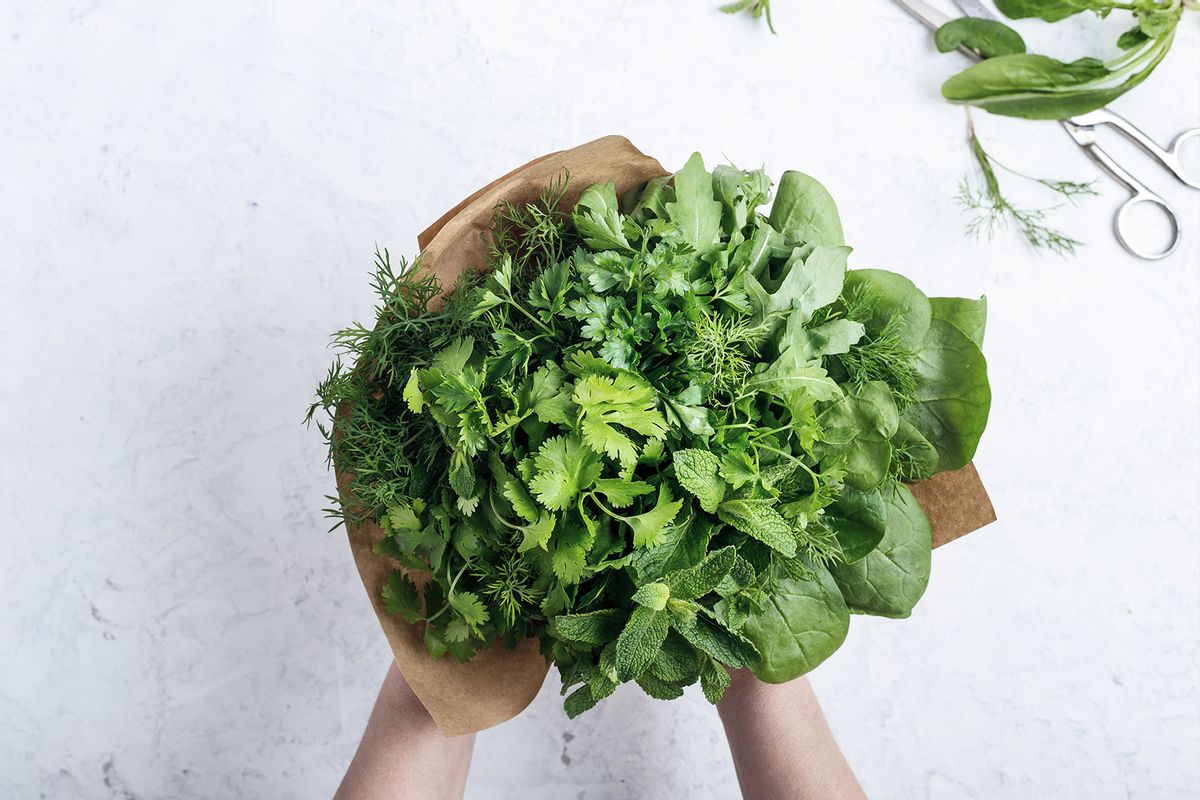
I adore fresh herbs in any and all iterations. I love their brightness, the levity they bring, the flavors that permeate, the freshness, the color — the list goes on and on. They add a certain je ne sais quoi that quite literally no other ingredient can even remotely approximate (and certainly not any dried herbs: Dried rosemary is possibly the bane of my existence.)
Fresh herbs, though, can be finicky. In both chopping and preparing, in when and how to incorporate them into dishes and, of course, in storing them.
Lately, I’ve been commiserating about how nearly all of my fresh product — especially peaches? — tend to spoil or “go bad” within a day or two of purchasing them.
One of the worst culprits beyond stone fruit, though, is fresh herbs at large. Scallions wilting in the fridge, some windowsill basil collapsing in on itself while discoloring, some cilantro or parsley getting flimsy and slimy. One of the only herbs that I find has great constitution and can stand up to both time and temperature is fresh mint, one of my absolutely favorite herbs. But, alas, this is a story about how to properly store and preserve your herbs, so let’s get into it.
First and foremost, we must categorize our herbs. For Serious Eats, J. Kenji López-Alt writes that a good way to differentiate your approach is to first make note of your hardy versus tender herbs and then store base on that: tender herbs like parsley, dill or tarragon should be done in a paper towel method, while hardy herbs like rosemary, chives or sage could be done in what we’ll call the “Mason jar” method. Hardy herbs are sometimes also called robust herbs, while tender herbs are also sometimes called soft herbs.
If it helps to differentiate, think about their stems: if they’re edible and generally lighter, such as mint, then they fall into the tender category, but if they’re woodsy or a stem you’d normally discard — such as rosemary — then they’re hardy.
One of the best approaches is to remove your herbs from the supermarket or grocery bags immediately, washing them, drying them completely and then storing by tucking them into paper towels in a food storage bag that has been well-sealed. This is the aforementioned “paper towel” method which’ll work beautifully for tender herbs; I first learned this from Rachael Ray’s 30 Minute Meals back in the day. Conversely, the “Mason jar” method involves snipping the bottoms of your herb stems, storing the herbs upright in a jar with about an inch of fresh, cool water, and then sealing completely before refrigerating.
Basil is its own animal, which should be treated like a literal bouquet of flowers. This method is a fun one: Treat them, literally, like flowers by propping them up in a mason jar, vase or glass with their stems or ends slightly trimmed. It’ll perfume your kitchen, look really appealing and fresh and will provide longer-lasting herbs than ons you’ve unceremoniously stuffed into the fridge drawer or your produce basket.
To be frank, I’m often too lazy and just chuck my bags of herbs in the fridge without taking this step and I’m then mad at myself two days later when my herbs are unappealing or borderline unusable. Take heed and get ahead of the self-deprecation by just properly storing them the instant you get them into your kitchen.
If you’re a freezer person, you can also freeze practically any herb to ensure its longevity and shelf life. The best bet for an approach like this is to blend an herb — or multiple herbs — after having blanched them for 10 to 15 seconds. Add a touch of oil and then freeze in ice cube trays. Conversely, you can also wash, dry and chop herbs, then add little piles to your ice cube tray before adding a bit of oil to cover. Either option works beautifully.
Another option is drying or dehydration, which you can do in an oven at a very low temperature, in an actual dehydrator or if you’re particularly gifted, perhaps even in an air fryer.
Want more great food writing and recipes? Subscribe to Salon Food’s newsletter, The Bite.
Generally, be sure to minimize excess light, which might cause quicker discoloring or yellowing and to ensure you’ve got just the right amount of moisture — be like Goldilocks: Herbs should have not too much and not too little water, so check that jar to ensure there’s still some water in the bottom. If it’s a bit low, add some fresh water. Also, be mindful of temperature. Some herbs should always be refrigerated, some should be left at room temperature, but in a summer like this one, with its excess humidity, incessant rain and outrageous heat, “room temperature” may not actually be conducive for most herbs — or most pets and human beings, frankly.
These methods can help to extend shelf life for up to two weeks, which is a major upgrade from herbs that have been haphazardly stored.
Some also advise hanging herbs in bunches via cooking twine, letting them dry in a dry place — but I haven’t had great (read: any) success with this approach. Feel free to store some herbs together or in bundles, but make sure you’re grouping like with like: parsley and cilantro or thyme and oregano, but don’t mix hardy and tender.
You should have a very very very sharp, large chef’s knife for proper, efficient herb chopping without any sort of bruising, but knives are a conversation for another. For now, go forth with your herbaceous knowledge and if you haven’t yet, get your perfect, verdant herbs out of those cellophane supermarket bags pronto. They’ll thank you for your haste — and so will your wallet, eyes and tastebuds.
Read more
about this topic